


When you purchase an item after clicking a link from this post, we may earn an affiliate commission.
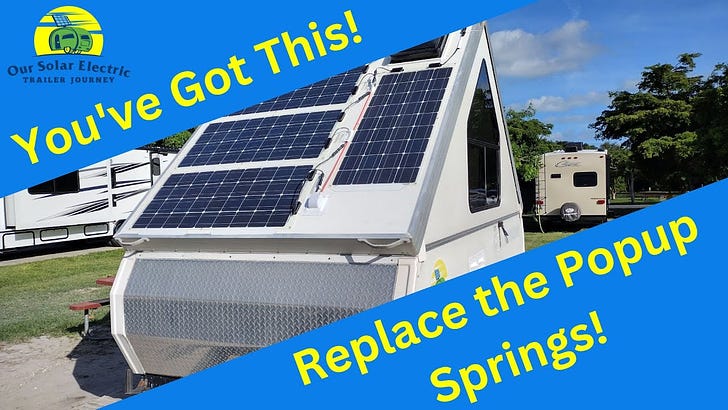
This is the third and final chapter in our series about installing solar on our RV. You can read chapter one here and chapter two here. See video one here and video two here.
A solar power system in an RV is mostly about stuff you can’t see from the outside. Once upon a time, we believed most of the cost and effort of running on solar power was the panels. We’ve learned a lot in the last year.
This week, we’re sharing the seldom revealed details about the many components that comprise an RV solar power system.
To build our system, we worked from and made some adjustments to a plan from Nate Yarborough at Explorist.Life.
After we brought the wires from the panels chained in series on the room through the roof, we ran them in conduit under the bench seat that converts to a bed through the cabinet that houses the refrigerator and sink to the cabinet where our existing fuse box lives.
The wires from the roof end in a miniature single breaker fuse box. Amazon sells the box and the breaker separately. The breaker serves as an on/off switch for the solar power, allowing us to turn off the juice to work on the system. Even under dim garage lighting, we found the panels generate a few drops of juice.

The wires then connect the breaker box to the Victron Energy charge controller. This device enables the power from the panels to charge the battery. There is an app you can install on your phone to see what the charge controller is doing.

The charge controller connects to the battery through the busbar. Amazon sells the busbars we used for the positive and negative wires separately. The busbars allow you to see more clearly what you’re connecting to the battery. The fancy Victron Energy positive busbar we bought has a gap for fuses. (We relied on Nate to pick the right ones.) The fuses protect the wiring from short circuits.
Between the positive busbar and the battery, we inserted a switch like this one that allows you to instantly disconnect the battery from the rest of the system while you work on it.
Similarly, between the negative busbar and the battery, we inserted a shunt that connects to a Renogy battery monitor (Amazon sells this as a kit). The monitor shows you the state of charge and whether juice is flowing into or out of the battery at any moment.

We also connected the busbars to the Victron Energy inverter/charge controller. Why do we need two charge controllers? It took us a while to figure that out. This inverter/charge controller does two key jobs:
Converts DC power from the battery to AC power for the appliances that need it.
Converts AC shore power to DC power that will charge the battery.
So, to be clear, you need one charge controller to convert the solar power into energy the battery can use and another one to convert AC shore power into energy the batter likes.
This bad boy was the most expensive component in the entire system. Alone, it cost much more than the solar panels we bought. A Renogy inverter/charge controller may be adequate at half the price. We discovered it well after purchasing our Victron Energy device and haven’t tested it.

We disconnected our existing shore power cable from the fuse box it supplied and instead connected it to the Victron Energy inverter. We used a new length of similar cable to connect the inverter to the fuse box.
The fuse box has an inverter that converts AC to DC power. In our little trailer, we only know of two overhead lights plus our turn signals that run on DC. It is silly to convert DC to AC back to DC, but we do that with only a tiny bit of juice and doing so made the installation simpler for us. Your situation could be vastly different.
It took more hours than we’d imagined possible for this work. Given our lack of prior experience with RV electrical systems, we had to do a lot of research. We didn’t even know the questions to ask. As a result, each step took time and patience.
If you already know whether 10 AWG wire carries more or less power than 8 AWG wire, you will likely have an easier time with this project than we did.
As we’re fond of saying, if we can do this, anyone can. Let us know if you have any questions we might be able to answer.


Share this post