


When you purchase an item after clicking a link from this post, we may earn a commission.
The Aliner Scout A-frame popup trailer roof features four springs, two on each side. The springs make lifting the roof easy. One of our springs broke. We replaced both springs on that side. This is how we did it.
With one spring broken, the Aliner folks recommend discontinuing the use of the RV.
This project scared us. Aliner recommends having it done by a professional. When opening the roof without the bungee cords attached, you can do catastrophic damage to the camper.
To prevent that, you’ll want to open the rig next to your garage or other structure that will block the wind or gravity from grabbing the roof and overextending the hinges.
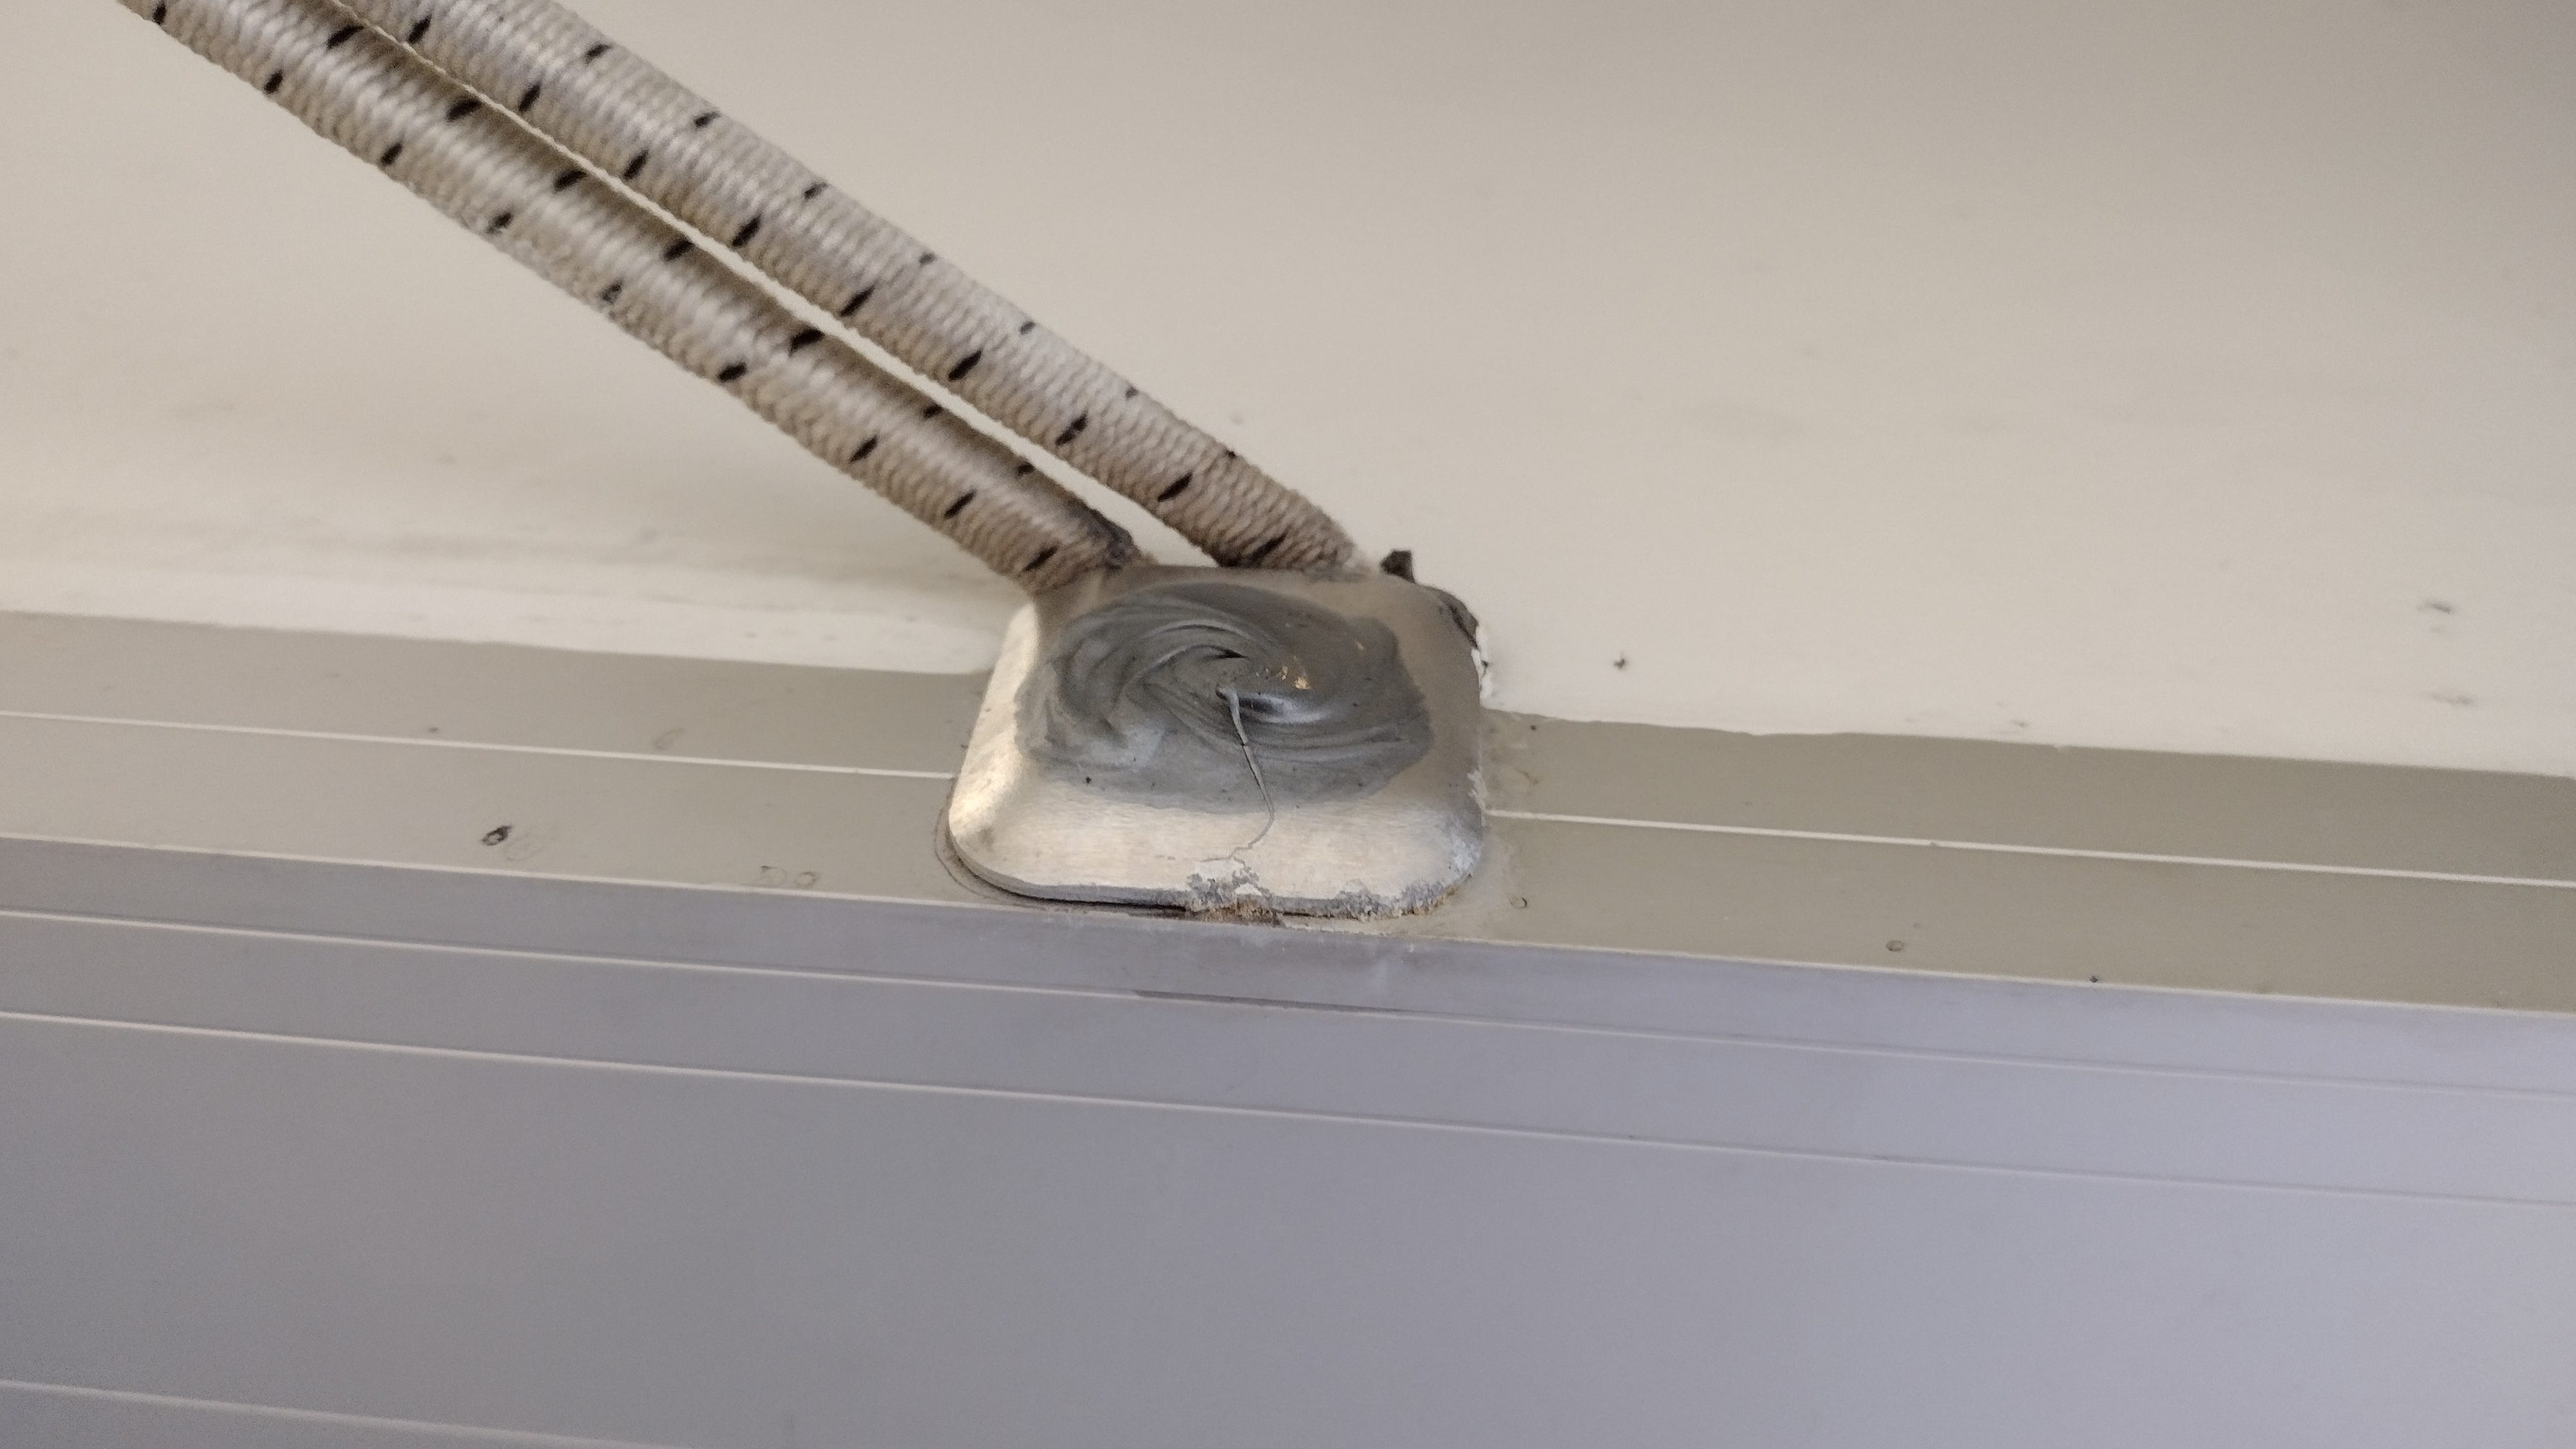
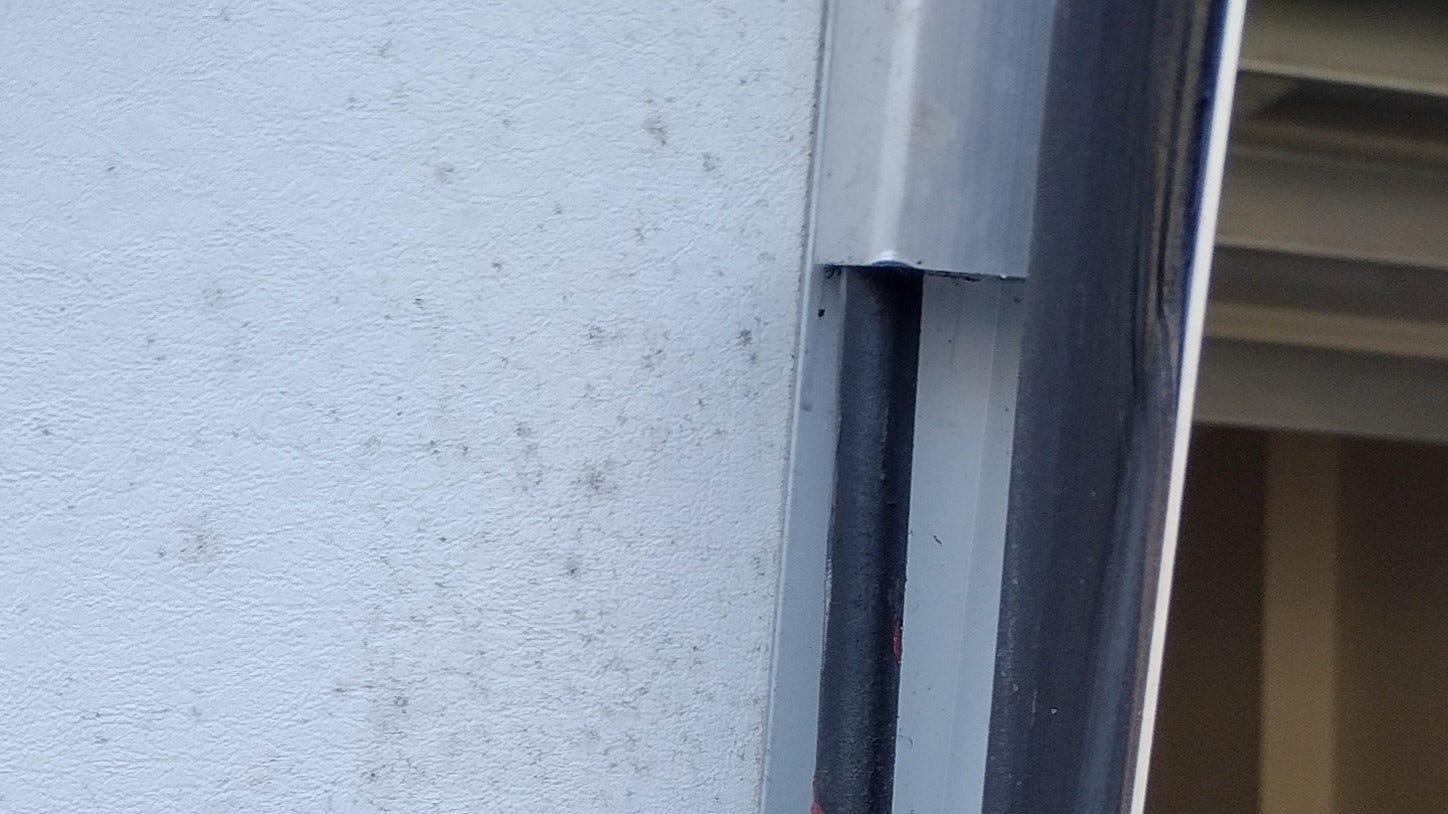
Before you can do that, you have to disconnect the bungee cords. Do this simply by removing the caulk that hides the screws holding the bungee. Then remove the screws. Save them to reattach the cords.
Before opening the roof, we’d recommend taping the loose bungee cords to the top of the roof to keep them out of the way.
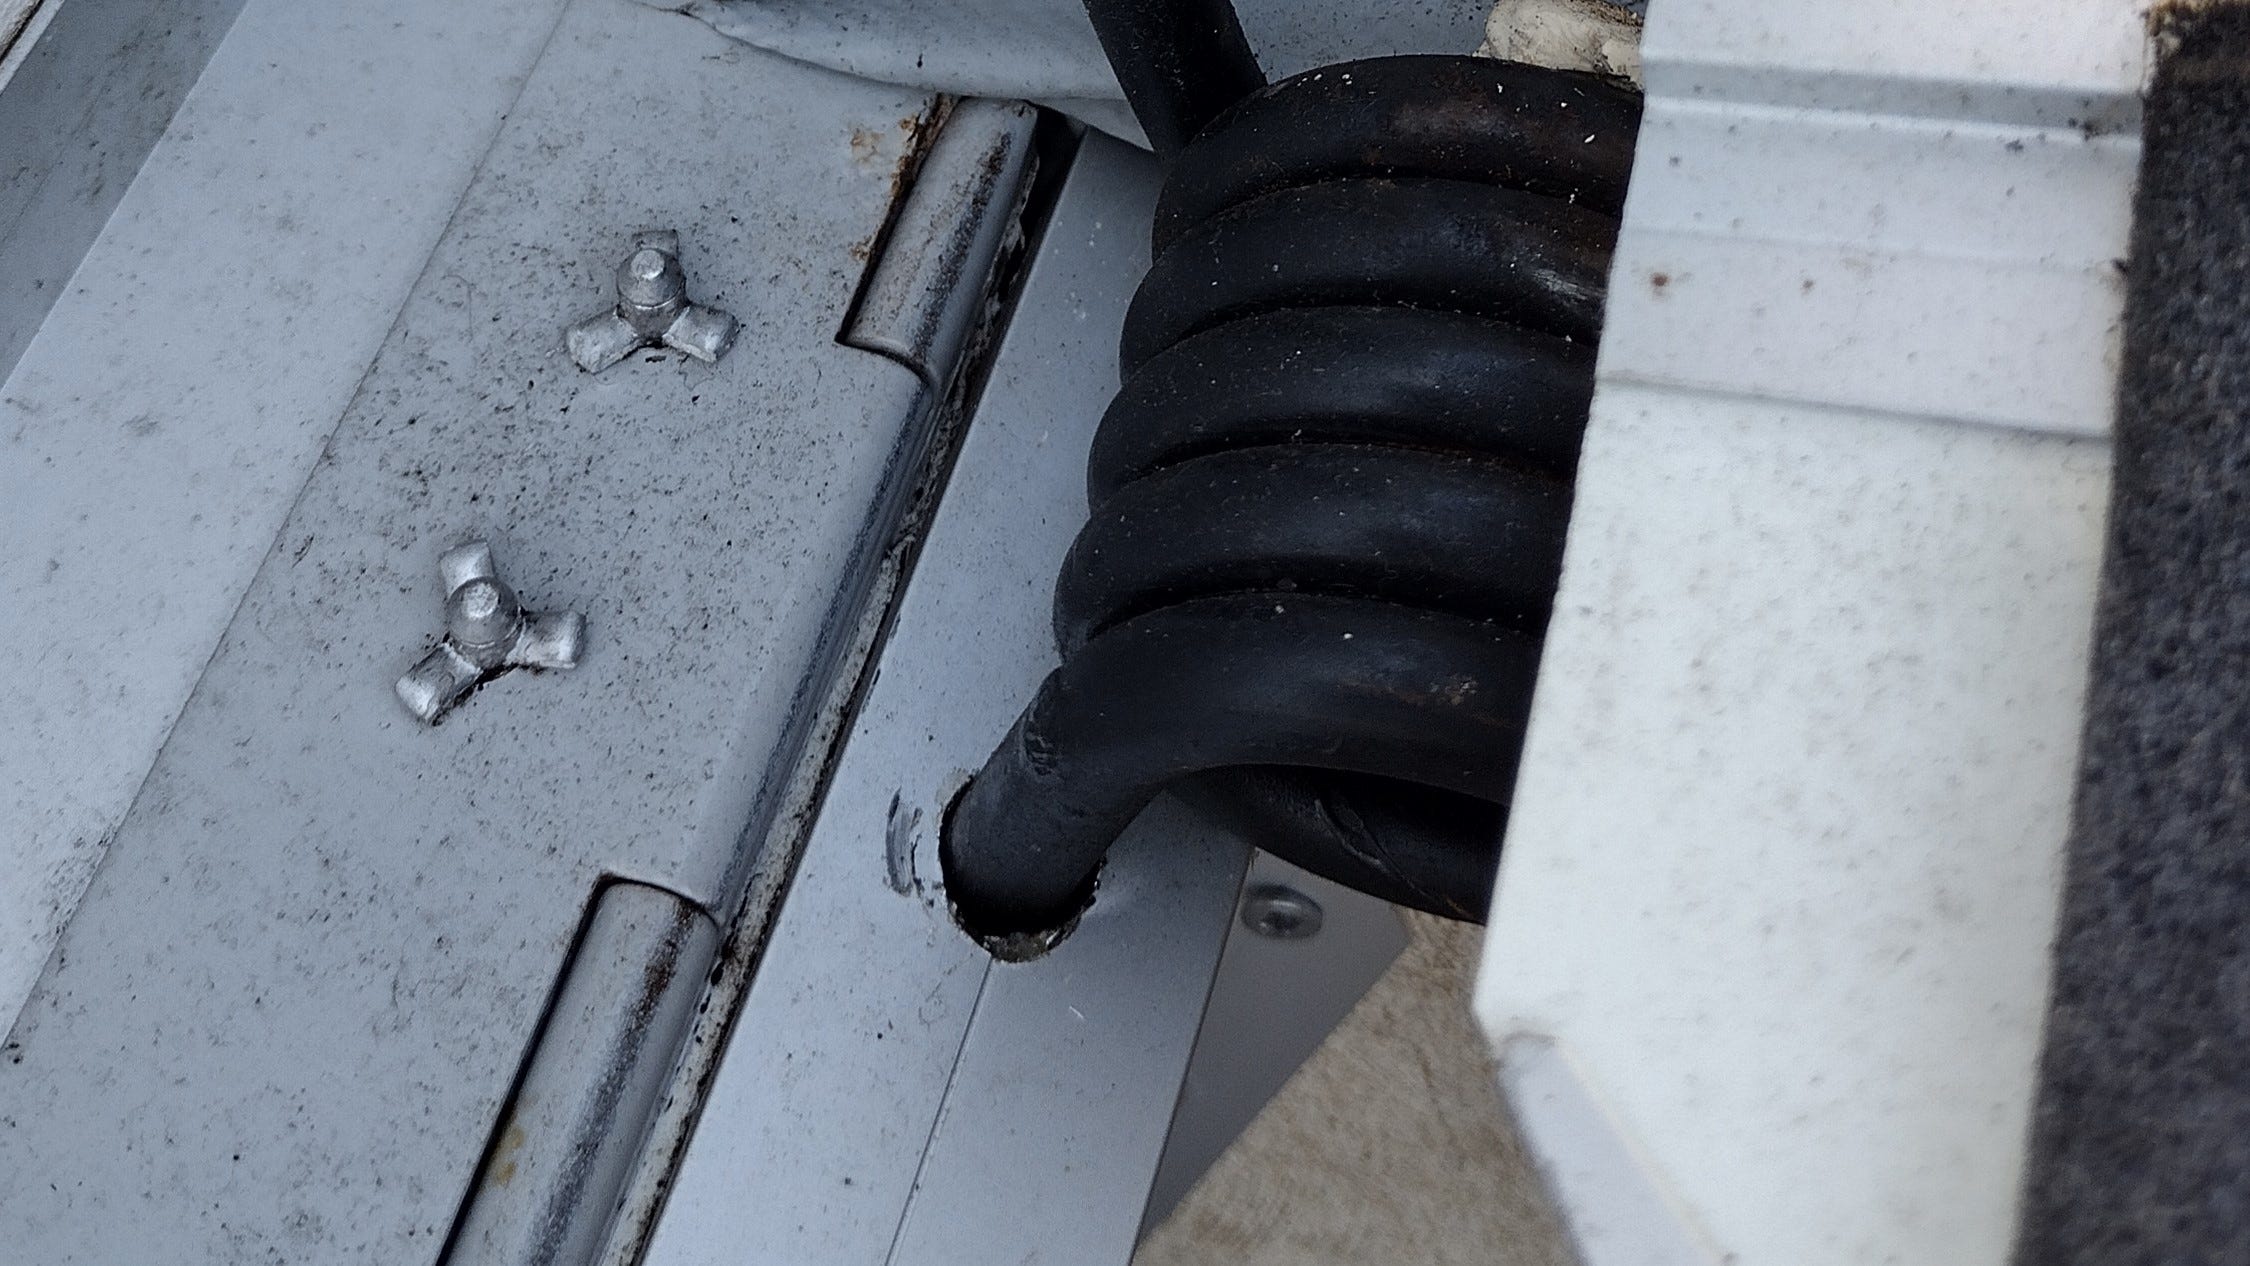
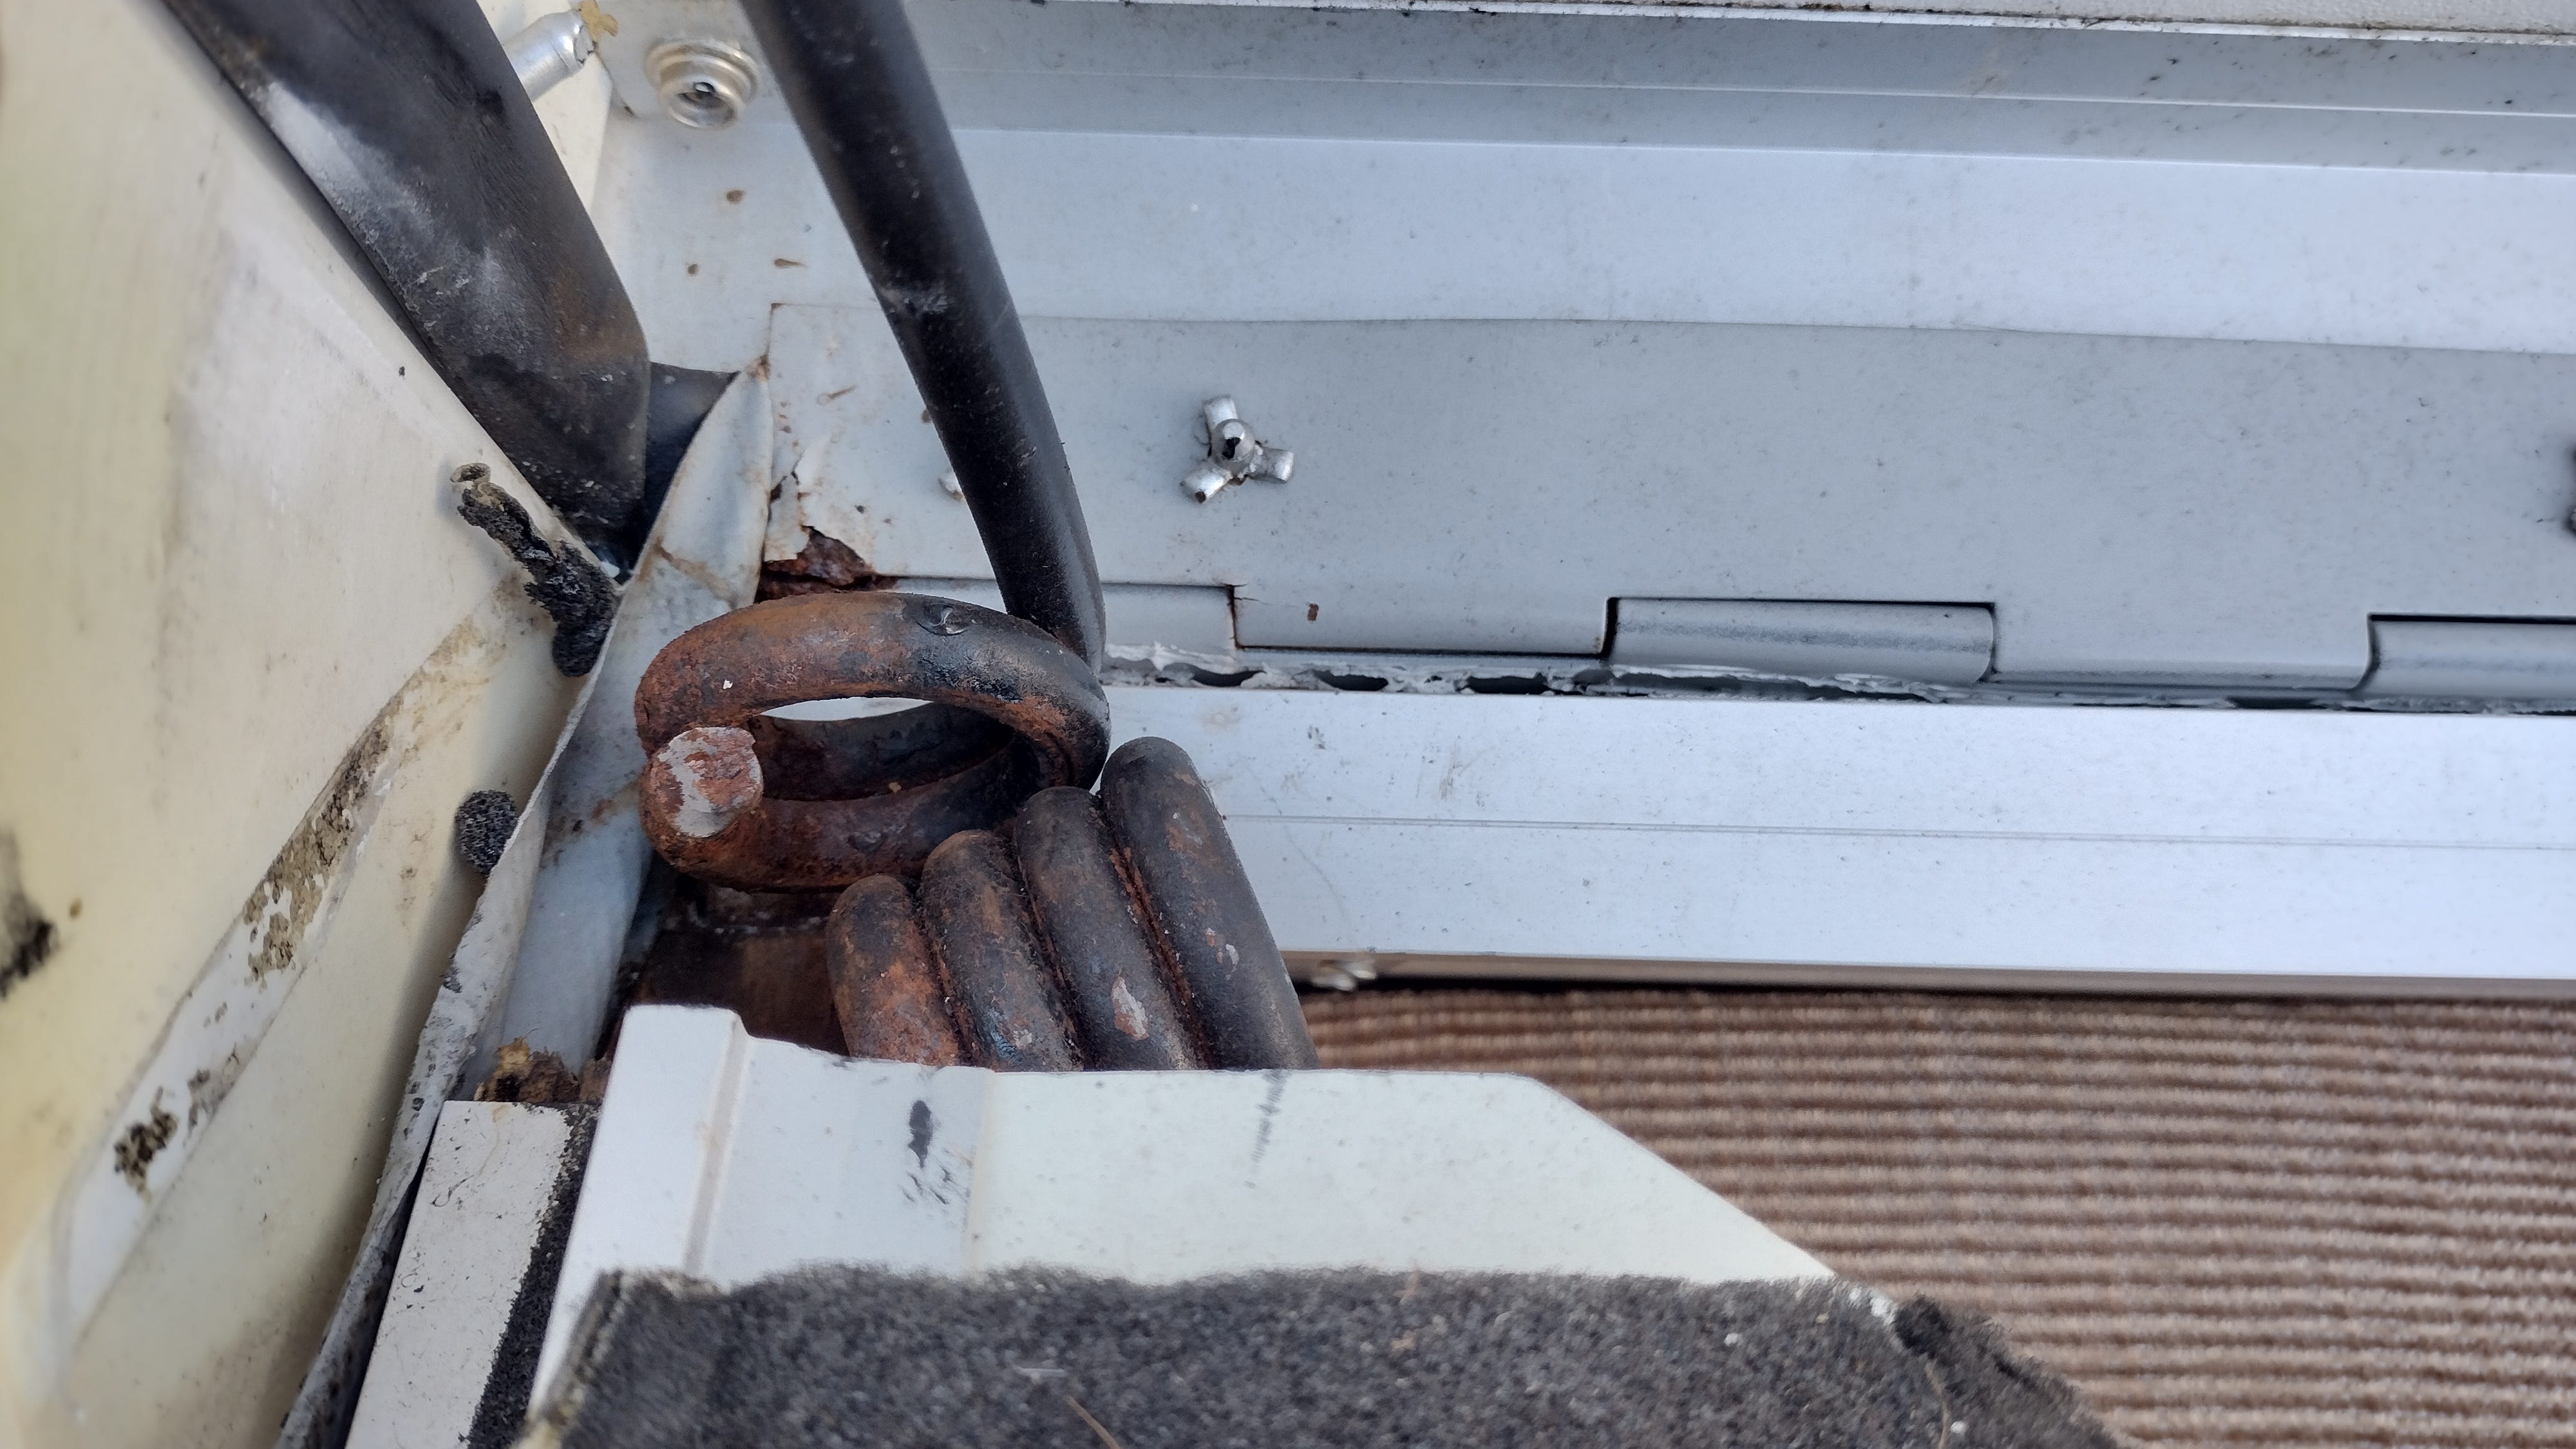
The springs are mounted in holes in the front and back walls of the trailer. The other end of the spring is inside a sleeve about five inches long mounted on the aluminum frame of the roof/ceiling.
To remove the springs, you just remove the sleeve and then pull the spring out of the hole. To remove the sleeve, which is attached with rivets, just drill out the rivets.
Pulling the springs out of their holes takes only a minute or two of tugging with some enthusiasm.
Getting the replacement springs in the hole takes a bit more time and finesse. We found a rubber mallet helpful. Before you remove the old ones, take a careful look at how they are seated so you can put the replacements in the same place.
Once the spring is in position, you can slip the sleeve back into place and use rivets to secure it just the way you found it. We fastened these rivets with this rivet gun.
With the springs installed, you now need to reattach the bungee cords. The key is to create some slack at the end of the cords so you have maximum flexibility and ease. I used a clamp like this one.
With the end of the bungee hanging slack, you can now easily use the same screws and caps to reattach the bungee cords in the same place they were originally attached. Be sure to squire plenty of caulk under the caps before tightening the screws. Don’t over-tighten! Then be sure to add more caulk over the screws and around the cap to ensure a good seal.
That’s it. It really is about as easy as that sounds. Below is the video we found from Rick at Going Nowhere Fast that is helpful. I’d only note that you can save some steps he needed simply by getting the right rivets. Again, these worked.
If you have tips or questions, please leave them in the comments. We love hearing from you.


Share this post